How to Choose Your First Pair of Rugby Boots: A Buyer's Guide
Your first pair of rugby boots is a bigger decision than it looks. Walk into a sports shop and you will meet a wall of boots that appear almost identical, all black and shiny, all priced differently for reasons nobody bothers to explain. The differences are real, and they show up the moment you are standing on a wet pitch in January with a scrum about to engage. Get the basics right and you will avoid blisters, slip less, and get more than one season out of them.
Start With the Surface You Actually Play On
Most boot confusion is about surface, not style. Soles are built for specific ground conditions, and if you buy for the wrong one you will either slide around or feel like you are running in cricket spikes.
Here is the shorthand you will see on the box:
- Firm ground (FG): moulded plastic studs. The default for most grass pitches through autumn and a dry winter.
- Soft ground (SG): metal screw-in studs. Built for heavy, muddy pitches where shorter studs simply cannot find grip.
- Artificial grass (AG): many short, rounded studs spread across the sole. Designed to spread load on 3G and 4G surfaces.
- Hard ground (HG): fewer, shorter studs for baked summer pitches and hard-packed training areas.
- Turf or trainer soles: flat rubber with small nubs. Useful for warm-ups and dry training, useless for contact on wet grass.
Be honest about where you play most. If your club has a decent pitch that drains well, a firm-ground boot will cover most of your season. If you play on a heavy, claggy surface that holds water, soft ground is worth the extra care and cost. And check before you buy: many clubs and artificial-pitch facilities do not allow metal studs on synthetic surfaces, because they chew up the surface underneath.
Stud Types, and What They Actually Do
Studs are not decoration. Their length, shape and number decide how much of your foot digs into the ground and how quickly you can pull it back out again.
Moulded plastic studs are fixed into the sole. They are lighter, cheaper to produce, and fine on firm grass and dry ground. The trade-off is that they wear down and cannot be replaced, so a boot with flattened studs is a boot with no grip.
Screw-in metal studs (aluminium or steel) are the traditional soft-ground setup. They bite deeper into mud, and you can swap them for longer or shorter ones as the pitch changes. They add weight, and you feel the ground more through your feet, which some players love and others hate.
Hybrid soles mix moulded studs with threaded holes, so you can add metal studs when winter arrives. For a first pair, that flexibility is genuinely useful.
Configuration matters too. Fewer, longer studs give deeper bite in mud but spread your weight across less of the foot. More studs spread the pressure but grip less aggressively. Players who scrummage a lot often prefer a traditional six-stud metal layout with longer studs under the forefoot; backs tend to be happier with eight moulded studs that let them turn and accelerate. Referees at many levels will check studs before a match, so keep them clean, unsharpened and in good condition.
Fit Is Where Most Beginners Go Wrong
Boots are not trainers. They are narrower, stiffer and designed to hold your foot still while someone stands on it. That means the fit has to be closer than you are used to.
Try boots on late in the day, when your feet are at their largest, and wear the socks you actually play in. Rugby socks are thick, and a boot that feels snug in thin socks will be uncomfortable on match day. You want roughly a thumbnail of space in front of your longest toe, a heel that does not lift when you push off, and no pressure across the widest part of your foot.
Resist the urge to buy a size up, whether for growth or for comfort. A loose boot lets your foot slide forward on hard stops, which causes blisters and bruised toenails, and it gives you less stability when you plant to change direction. If you have wide feet, look for brands that offer a wide fit or leather uppers, which give a little as they break in. Synthetic uppers barely stretch at all.
Lacing and lockdown
Learn to lace properly. Pull the laces tight through the middle of the foot, then use the top eyelets to lock your heel back into the boot. Some players use a heel-lock lacing pattern, which threads the lace back through the top eyelet on the same side before tying, to stop the heel sliding. It takes two minutes to learn and makes a noticeable difference.
On ankle height: low-cut boots are lighter and let you move freely. Mid and high collars feel more supported and are popular with players who have had ankle trouble. A collar is not a substitute for taping, bracing or strengthening work. If you have a history of ankle or foot injuries, get advice from a physiotherapist or podiatrist before you choose.
Match the Boot to Your Position
You do not need to overthink this, but your position does shape what feels good.
Forwards
Props, hookers, locks and back rows spend their time pushing, lifting and landing. They want stability: a planted, wide base, a sturdy upper that survives rucks and scrums, and studs that hold in soft ground. Leather uppers and a slightly heavier build are usually worth it. Nobody wins a scrum because their boots were light.
Backs
Wings and full-backs want something lighter that lets them accelerate and change direction without dragging weight around. Centres need a compromise: light enough to move, solid enough to tackle and be tackled. Scrum-halves often prefer a low-profile boot with a good feel for the ball when kicking. Whatever your position, grip still comes first — a fast player who cannot push off is not fast.
Materials, Weight and Weather
Leather moulds to the shape of your foot and softens with use, which is why so many players swear by it. It also soaks up water unless you treat it, and it needs drying properly. Synthetics and knitted uppers dry faster, hold their shape, and need less maintenance, but offer less give.
Weight matters mainly in the last twenty minutes. Lighter boots feel quicker but usually have thinner soles and less protection. If your club plays through a wet winter, a water-resistant upper and a sole that clears mud easily will do more for you than saving a few grams.
A Pre-Purchase Checklist
- Write down the surfaces you train and play on most, and ask whether metal studs are allowed on your artificial pitch.
- Choose your sole type: moulded firm ground for general grass, screw-in soft ground for heavy pitches, AG for synthetic.
- Try boots on in the afternoon with your match socks, and test heel lockdown by pushing off and cutting sideways in the shop.
- If buying second-hand, check the studs for flat spots, inspect the upper at the flex point for cracks, and make sure the sole is not separating.
- Look at last season's models in the same fit. You often get the same boot for less.
- Check the returns policy before you wear them outdoors.
Breaking Them In and Keeping Them Useful
Wear new boots for a couple of training sessions before you wear them in a match. Short spells, then build up. Do not soak leather boots to soften them, and do not dry them on a radiator or in direct sun, which cracks the upper and warps the sole. Knock the mud off after every session, stuff them with newspaper to dry at room temperature, and check your studs before each match — loose or worn metal studs are a quick way to lose your footing and a good way to get pulled up by the referee.
Keep a stud key and a spare set in your kit bag. Retire the boots when the sole cracks, the upper splits at the flex point, or the moulded studs have worn smooth. Looked after properly, a well-chosen first pair can carry you through several seasons of rugby.
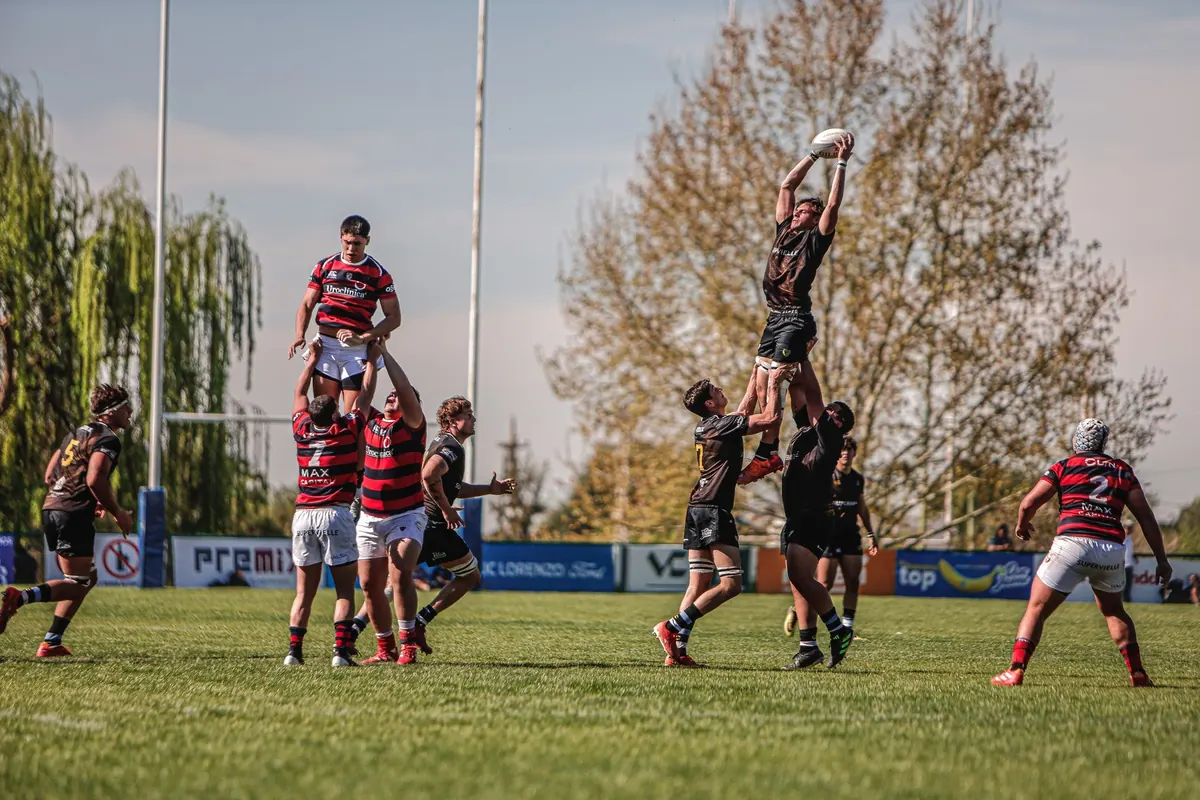
Photo: Thiago Sepulveda / Pexels
Headguards vs. Scrum Caps: Which One Do You Actually Need?
Scrum caps and headguards are the same category of kit with different amounts of padding. Here's how to...

How to Build a Club Fixtures Spreadsheet That Actually Works
A practical guide to building a shared club fixtures spreadsheet: the columns that matter, how to handle...
About Us