Rugby Positions Explained: What Every Number on the Pitch Actually Does
A rugby team sheet looks like a code: fifteen numbers, fifteen names, and everyone else in the room nodding knowingly. The numbers aren't decorative. In rugby union, each one marks a specific position with its own jobs, its own patch of the pitch and its own physical demands. Learn what the numbers do and a match stops being a pile of bodies and turns into a plan. Better still, you start to understand why a 120kg prop is essential to a move finished by an 85kg winger — and why a team can dominate for twenty minutes and still lose.
One thing worth settling early: in rugby union, numbers are tied to positions, not to a squad list. A player wearing 7 is playing open-side flanker, every time. That's different from football, where a number is largely a matter of history and personal preference.
Forwards and Backs: Two Jobs, One Ball
A starting XV splits into forwards (1 to 8) and backs (9 to 15), and that single division explains most of what you see. Think of it as a supply chain: the forwards manufacture the ball, the backs spend it. Everything else — the scrum, the lineout, the breadth of the pitch — follows from that one idea.
Forwards: numbers 1 to 8
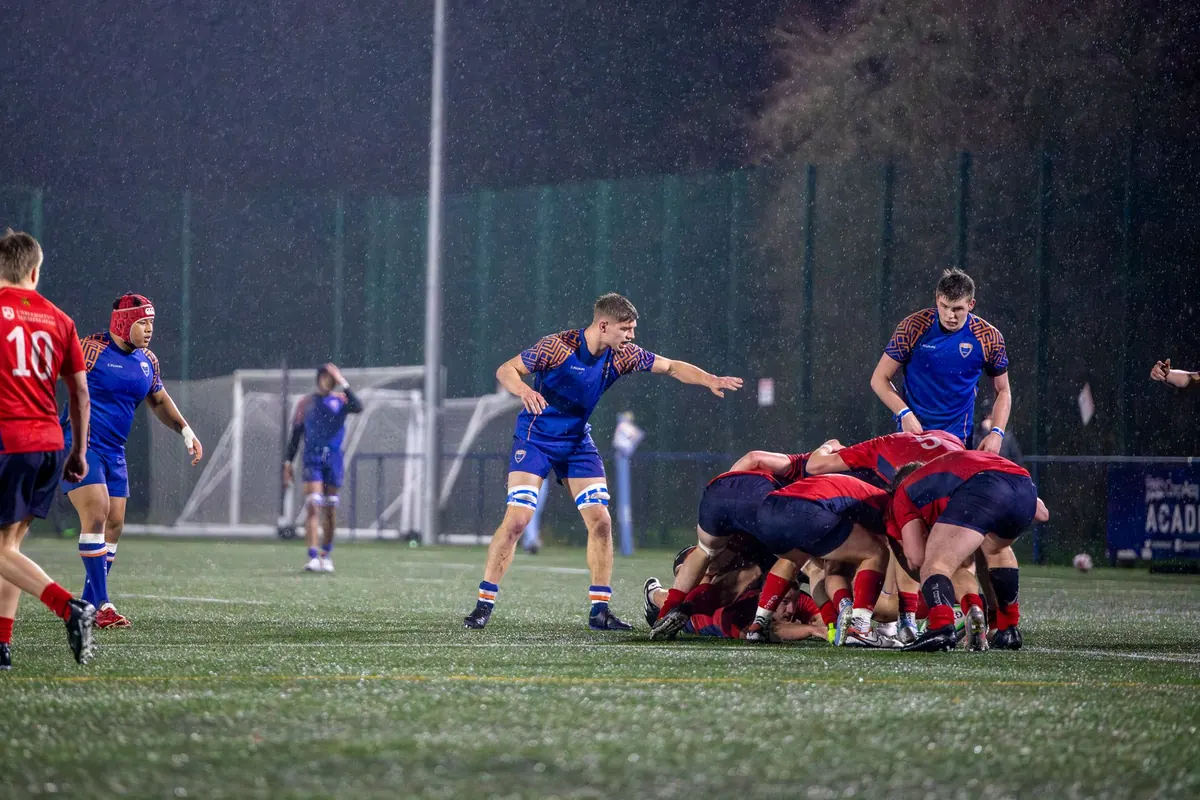
Forwards win the ball. They form the scrum, contest the lineout and fight for possession at the ruck and maul. They are generally heavier and stronger, and their work is often unglamorous: holding a scrum steady, clearing bodies out of a ruck, securing a restart. When you see a hooker emerge from a pile of bodies bleeding, that's not bad luck — it's the job description.
Backs: numbers 9 to 15
Backs use the ball. They play in more space across the width of the pitch and are usually quicker and more agile. Their job is to turn possession into territory and territory into points. A pack that wins ten turnovers and a backline that converts none of them is a team that loses by three.
Forwards decide who wins the ball. Backs decide what happens next. Teams that forget either half of that sentence lose matches they should have won.
The Front Row: Numbers 1, 2 and 3
The front row is the most specialised and most dangerous place on a rugby pitch. These three players pack down against three opponents in every scrum, and the physical forces involved are serious enough that scrummaging is coached in minute technical detail from the age of about twelve.
- 1 — Loosehead prop. Packs down on the left of the scrum. Pushes, binds and props up the hooker. Often a powerful ball carrier in tight spaces and a reliable lifter in the lineout.
- 2 — Hooker. Strikes for the ball in the scrum and throws into the lineout. A hybrid role: part scrummager, part specialist thrower, part extra flanker around the pitch.
- 3 — Tighthead prop. Packs down on the right, and carries the heaviest load in the scrum. Traditionally the strongest player on the pitch. When a tighthead gets the upper hand, the entire opposition pack starts going backwards.
The Engine Room and the Back Row: Numbers 4 to 8
The tight five (1–5) supply the grunt; the back row supplies the speed and the chaos.
- 4 and 5 — Locks. The tallest players in the squad, and the primary jumpers in the lineout. They push in the scrum, maul, and carry the ball in the middle of the pitch where there's no space.
- 6 — Blind-side flanker. Typically the bigger of the two flankers. Defensive enforcer, tackler, and a carrying option close to the ruck.
- 7 — Open-side flanker. The breakdown specialist. First to the tackle area, contests for the ball on the ground, and rarely stops moving. Often the team's leading tackler.
- 8 — Number eight. Picks the ball up from the base of the scrum and carries it into traffic. The physical link between the pack and the scrum-half. A good number eight can win a match almost single-handedly.
The Half-Backs: Numbers 9 and 10
If the forwards are the engine, the half-backs are the steering wheel. Together they touch the ball more often than anyone else on the pitch.
- 9 — Scrum-half. Feeds the scrum, passes from the base of rucks and mauls, and moans at the referee in a professional capacity. The link between forwards and backs. Box kicks, sniping breaks and quick taps are the tools of the trade.
- 10 — Fly-half. The tactical decision-maker. Passes, kicks, runs, kicks for goal, and calls the plays. When a team is going badly, the fly-half is usually the first person blamed, and when it's going well, the first praised.
The Midfield and Back Three: Numbers 11 to 15
- 12 — Inside centre. The link between the fly-half and the wider attack. Can be a hard-running crash ball carrier or a second playmaker, depending on the game plan.
- 13 — Outside centre. Attacks the space and organises the defensive line across the midfield. Often the fastest of the centres and a key communicator in defence.
- 11 and 14 — Wings. Pace, finishing and kick-chasing. They hug the touchlines waiting for the ball, then lose the ball on the counter. Traditionally the fastest players in the team.
- 15 — Full-back. The last line of defence and the team's second set of eyes. Catches high balls, covers kicks into space, launches counter-attacks, and often kicks goals from long range.
A Try in Slow Motion: How the Numbers Fit Together
Picture a set piece on the halfway line. The hooker throws into the lineout, and the number 5 is lifted to claim it. The forwards form a maul, and the number 8 drives it forward five metres. The scrum-half whips the ball to the fly-half, who runs flat and draws in the inside centre's opposite number. The 12 takes the pass at pace, fixes the 13, and offloads to the winger on his shoulder — and the number 11 finishes in the corner. Fifteen numbers, one movement, about nine seconds.
Why the Numbers Matter to a New Watcher
Once the numbers click, commentary makes sense. You'll hear "they've lost their tighthead to the sin bin" and know the scrum is in trouble. You'll hear "the open-side is over the ball" and know a penalty is coming. You'll notice when a full-back is out of position and why the opposition is suddenly kicking into the corner.
You don't need to memorise all fifteen at once. Learn the split — 1 to 8 win it, 9 to 15 use it — then add the front row, the half-backs and the back three as they come up. Within a couple of matches, that code on the team sheet becomes a story you can read in real time. Meanwhile, the substitutes warm up wearing 16 to 23, waiting for the moment their number is called.
Photo: Ollie Craig / Pexels
Headguards vs. Scrum Caps: Which One Do You Actually Need?
Scrum caps and headguards are the same category of kit with different amounts of padding. Here's how to...
How to Choose Your First Pair of Rugby Boots: A Buyer's Guide
Stud types, fit and surface matter more than brand or price. A practical guide to picking your first rugby...
About Us